
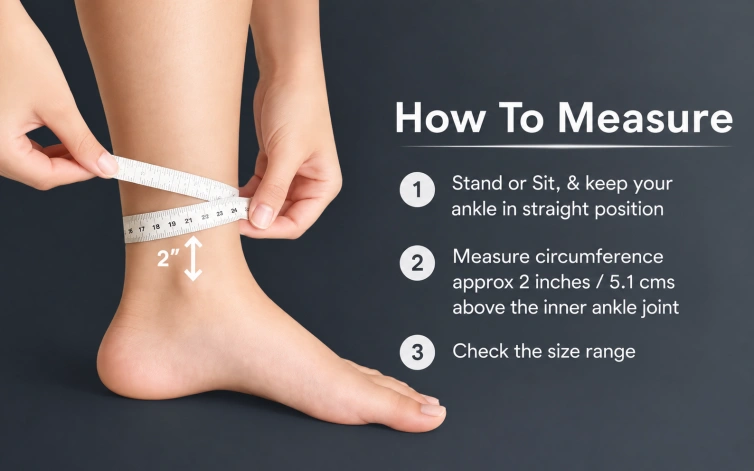
Choose an ankle support by the measurement method for the specific model, then check its fit with the intended socks and footwear. An S, M, or L label alone does not tell you whether a compression sleeve, adjustable wrap, or structured brace will fit.
For brands, distributors, and private-label buyers, a useful ankle support size guide needs more than a list of size labels. It should show where to measure, explain how to handle size boundaries, and match the product customers receive.
Why Ankle Support Sizes Differ
Different support structures use different sizing systems. For example, Bauerfeind’s MalleoTrain uses circumference at the narrowest point of the ankle, while other braces use a measurement path around the heel and ankle. Structured stirrup braces may also have different shell heights and separate left/right versions. Follow the diagram supplied for the selected model. Bauerfeind MalleoTrain sizing guidance, DJO product catalog, Aircast Air-Stirrup ordering information
A measurement taken around the narrowest ankle cannot be substituted for a heel-to-instep measurement. Even when both are described as “ankle circumference,” they represent different paths.
| Ankle support structure | Sizing information to check | Fit details to assess |
|---|---|---|
| Knitted compression sleeve | Model-specific circumference and measurement location | Heel alignment, cuff fit, and ease of pulling over the foot |
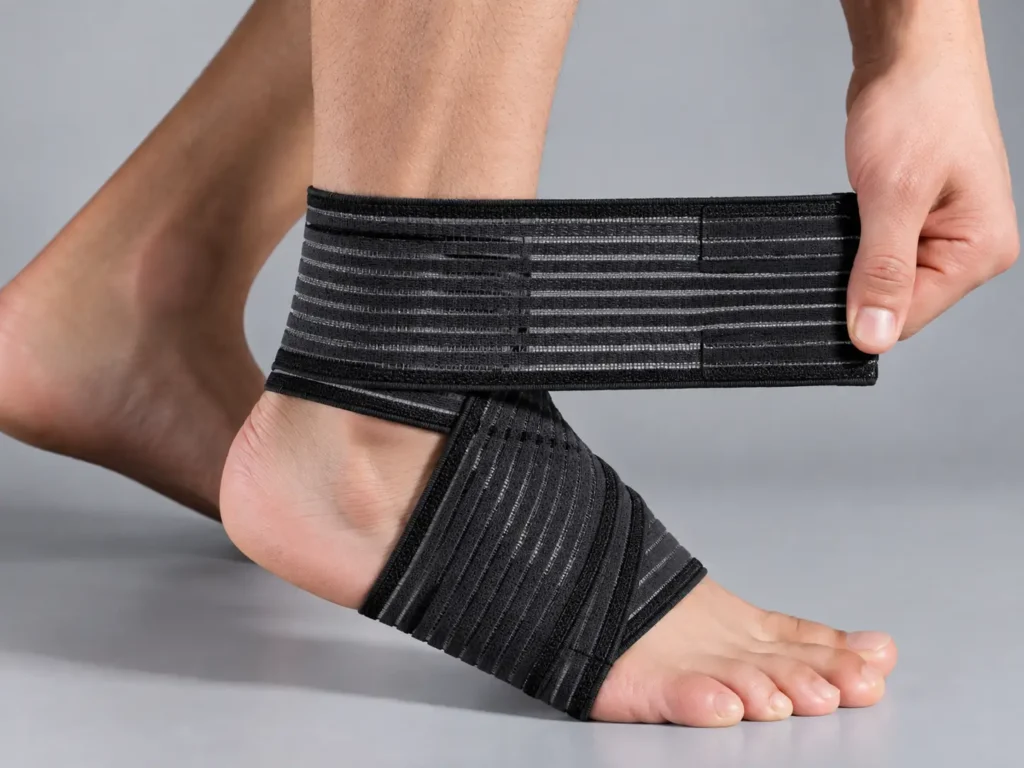
| Figure-8 elastic wrap | Stated fit range and fastening instructions | Strap reach, overlap, and closure position |
| Lace-up stabilizer | Required circumference, shoe-size guidance if provided, and width considerations | Heel seating, lace adjustment, and strap placement |
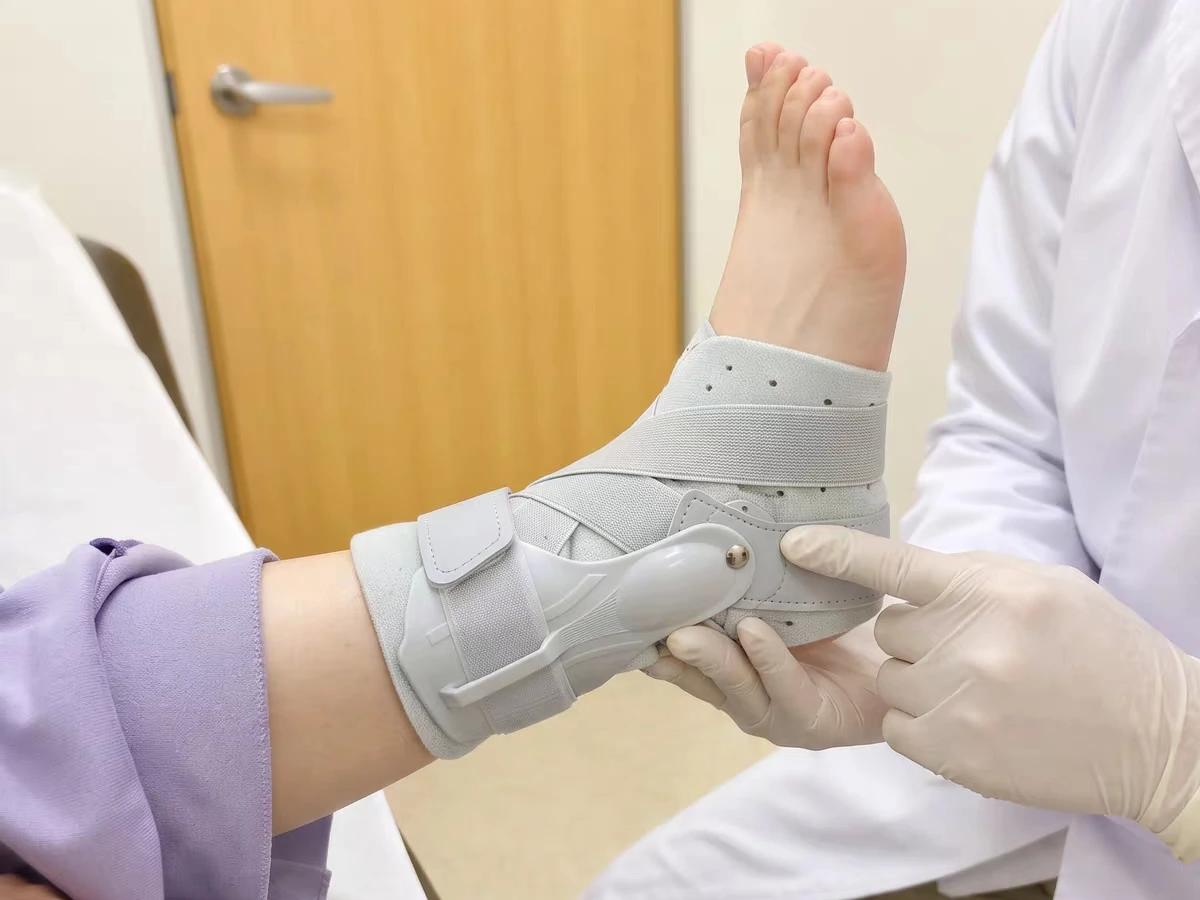
| Stirrup or air/gel brace | Model size, shell height, and left/right designation | Shell position, padding contact, and heel adjustment |
| Dial-adjust brace | Model-specific size chart and adjustment instructions | Base fit, closure travel, and pressure distribution |
Use this table to identify the information needed before choosing a size. The product’s own chart determines the final selection.
How to Measure for Ankle Support
1. Identify the exact product
Start with the model or SKU. Check whether it is a pull-on sleeve, adjustable wrap, lace-up stabilizer, or structured brace.
Read the sizing instructions before measuring. Look for:
- The measurement location and tape path
- Whether measurements are taken over bare skin or a sock
- Required foot position
- Units used in the chart
- Left/right or bilateral fit
- Instructions for measurements at a size boundary
Do not assume that one sizing method applies across an entire product range.
2. Follow the measurement diagram
Use a flexible measuring tape. Position it along the indicated path, keeping it flat without twisting or pulling it tightly into the skin.
For a narrow-ankle measurement, follow the specified location above the ankle bones. For a heel-to-instep measurement, follow the complete diagonal loop shown in the model’s diagram.
Record the result and repeat the measurement to check consistency. If ordering for both feet, measure each side separately rather than assuming identical dimensions.
3. Record units clearly
Use the same units as the size chart. For conversion:
1 inch = 2.54 cm
An illustrative measurement of 10 inches equals 25.4 cm. This conversion does not identify a size until it is compared with the correct model’s chart.
For international packaging, show both centimeters and inches where helpful. Keep conversion and rounding consistent across the product page, packaging, and fitting instructions.
4. Compare the measurement with the correct chart
Use body measurements rather than the dimensions of an unstretched support unless the supplier explicitly provides a garment-measurement method.
A sleeve’s flat width, for example, is a production dimension. It is not interchangeable with the wearer’s ankle circumference.
Can You Choose Ankle Support by Shoe Size?
Use shoe size when the selected model provides that method. Otherwise, take the specified circumference measurement.
Shoe size is useful for describing foot length, but it does not fully describe ankle circumference or instep volume. Two customers wearing the same shoe size may need different support sizes.
For B2B specifications, record the shoe-size system explicitly—such as US men’s, US women’s, UK, or EU. A number without its sizing system can create avoidable ordering errors.
What If You Are Between Two Sizes?
Do not apply a blanket rule to size up or down. First check the model’s instructions and repeat the measurement.
Then assess the factors that affect the fit:
| Situation | What to check next |
|---|---|
| Measurement sits exactly on a shared boundary | Ask which size includes that boundary |
| Ankle fits the chart, but the sleeve is difficult to pull over the heel | Check heel opening and product shape |
| Wrap fits only at the end of the fastening area | Check the intended closure overlap |
| Brace fits, but feels crowded inside the shoe | Review footwear depth and support bulk |
| Swelling changes the fit | Seek guidance on the appropriate product and adjustment |
| Left and right measurements differ | Confirm the size needed for each side |
For private-label development, test adjacent sizes on representative wearers near the proposed size boundaries. Use those findings to refine the chart before approving packaging.
Check Fit After Putting the Support On
A size chart narrows the choice; a fitting check confirms how the product sits on the wearer.
Apply the support according to its instructions, then check:
- The heel sits in the intended position.
- Fabric and padding lie smoothly without folds.
- Straps and laces fasten in their intended positions.
- Edges do not create painful pressure points.
- The support fits with the intended socks and footwear.
- The product stays positioned during permitted movement.
If the support causes pain, rubbing, skin damage, tingling, or loss of feeling, stop the fitting trial and seek advice. Persistent skin irritation or sensory changes need attention rather than further tightening. NHS ankle pain guidance, NHS orthosis fitting guidance
Building an Ankle Support Size Chart for a B2B Product Range
A customer-facing size chart and a factory measurement specification serve different purposes.
The customer chart helps a wearer choose a size. It needs a clear body-measurement range and an easy-to-follow diagram.
The production specification defines the finished product. It should identify measurement points, dimensions, agreed tolerances, and inspection conditions.
Keep these documents connected through the same model number and revision.
Define the wearer and product structure
Before setting size ranges, establish the target customer group, market, intended footwear, and support design.
Knitted fabric, neoprene, padding, and closure construction can affect how a support fits. Approve sizing with the planned materials and construction rather than assuming that an existing pattern will fit the same way after changes.
Test the range, including its boundaries
Evaluate samples across the proposed size range. Include wearers near the lower and upper limits, where fit problems are easier to miss.
Useful sample-review records include:
| Review item | Information to record |
|---|---|
| Product identification | Model, size, material, and sample revision |
| Wearer measurements | Actual values and measurement method |
| Wearing conditions | Sock type and footwear used |
| Closure fit | Strap reach, overlap, and remaining adjustment |
| Comfort observations | Pressure, rubbing, bunching, or slipping |
| Outcome | Approve, revise, or test another size |
For adjustable products, define the intended fastening range. “Adjustable” still needs a stated fit boundary.
Keep the chart consistent across sales channels
Use the same approved size ranges on:
- Product pages and marketplace listings
- Retail packaging and hang tags
- Fitting instructions
- Distributor catalogs
- Sample approval documents
Include a chart revision date or reference number so an older packaging file does not reintroduce a superseded size range.
Common Ankle Support Sizing Mistakes
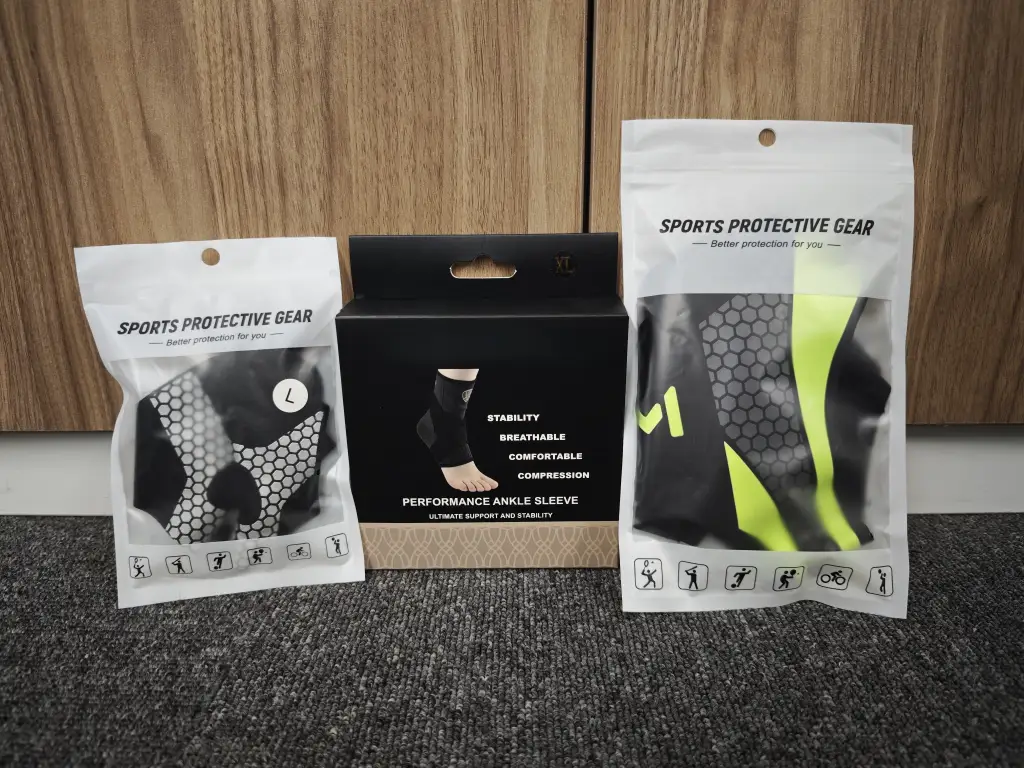
Choosing by S, M, or L alone.
Use the size label together with the model’s measurement range.
Measuring at the wrong location.
Check the illustrated tape path before comparing the number with the chart.
Treating stronger compression as a sizing goal.
Select the intended fit and support structure rather than choosing a smaller size simply to make it tighter.
Using one chart for different constructions.
Confirm fit separately when the fabric, padding, pattern, or closure changes.
Approving only the middle size.
Include size boundaries and the ends of the range in sample evaluation.
Assuming “one size” fits every wearer.
State the product’s actual fit range and fastening limits.
Develop Your Ankle Support Sizing with Braces for Sports
Braces for Sports supports OEM and ODM projects involving materials, sizing, branding, and packaging, with sample approval before bulk production. Explore our sports support development capabilities.
For an ankle support sizing discussion or quotation, send:
- Product type, reference photo, or model
- Target market and customer group
- Proposed body-measurement ranges
- Preferred materials and support structure
- Intended socks and footwear
- Left/right or bilateral requirements
- Estimated quantity by size
- Size-chart, labeling, and packaging requirements
Send your ankle support requirements to discuss the size range and samples needed for your product program.